Getting Started with Webhooks Guide
Overview
It's easy to get set up with webhooks using Bold Penguin's API!
This guide will show you how to:
Create and modify a new webhook subscription
List the webhook subscriptions on your Tenant
Create and receive webhook events
Depending on your familiarity with webhooks, HTTP, and software tools this guide should take between 30 minutes and 1 hour to complete. After which, you will have the tools and knowledge you need to interact with Bold Penguin's Webhooks API.
Let's get started!
Prerequisites
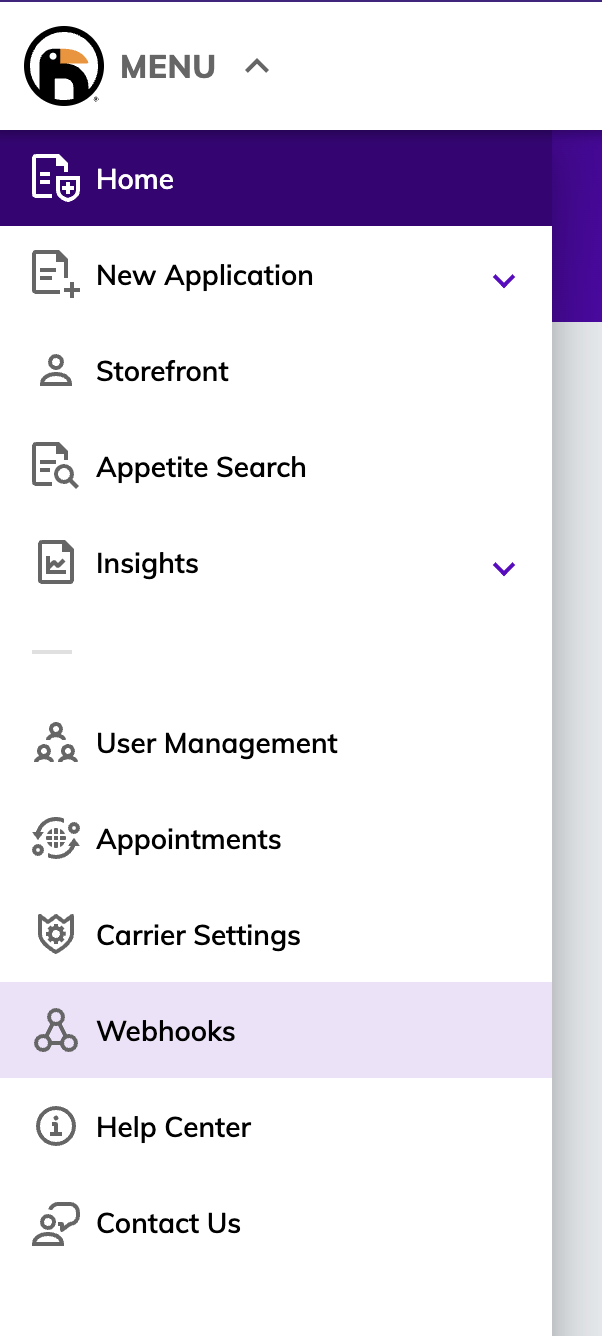
- Bold Penguin will enable webhook management for your tenancy. This will enable the webhook configuration in your Bold Penguin Terminal for users in your
principleuser group.
Create a Webhook Subscription
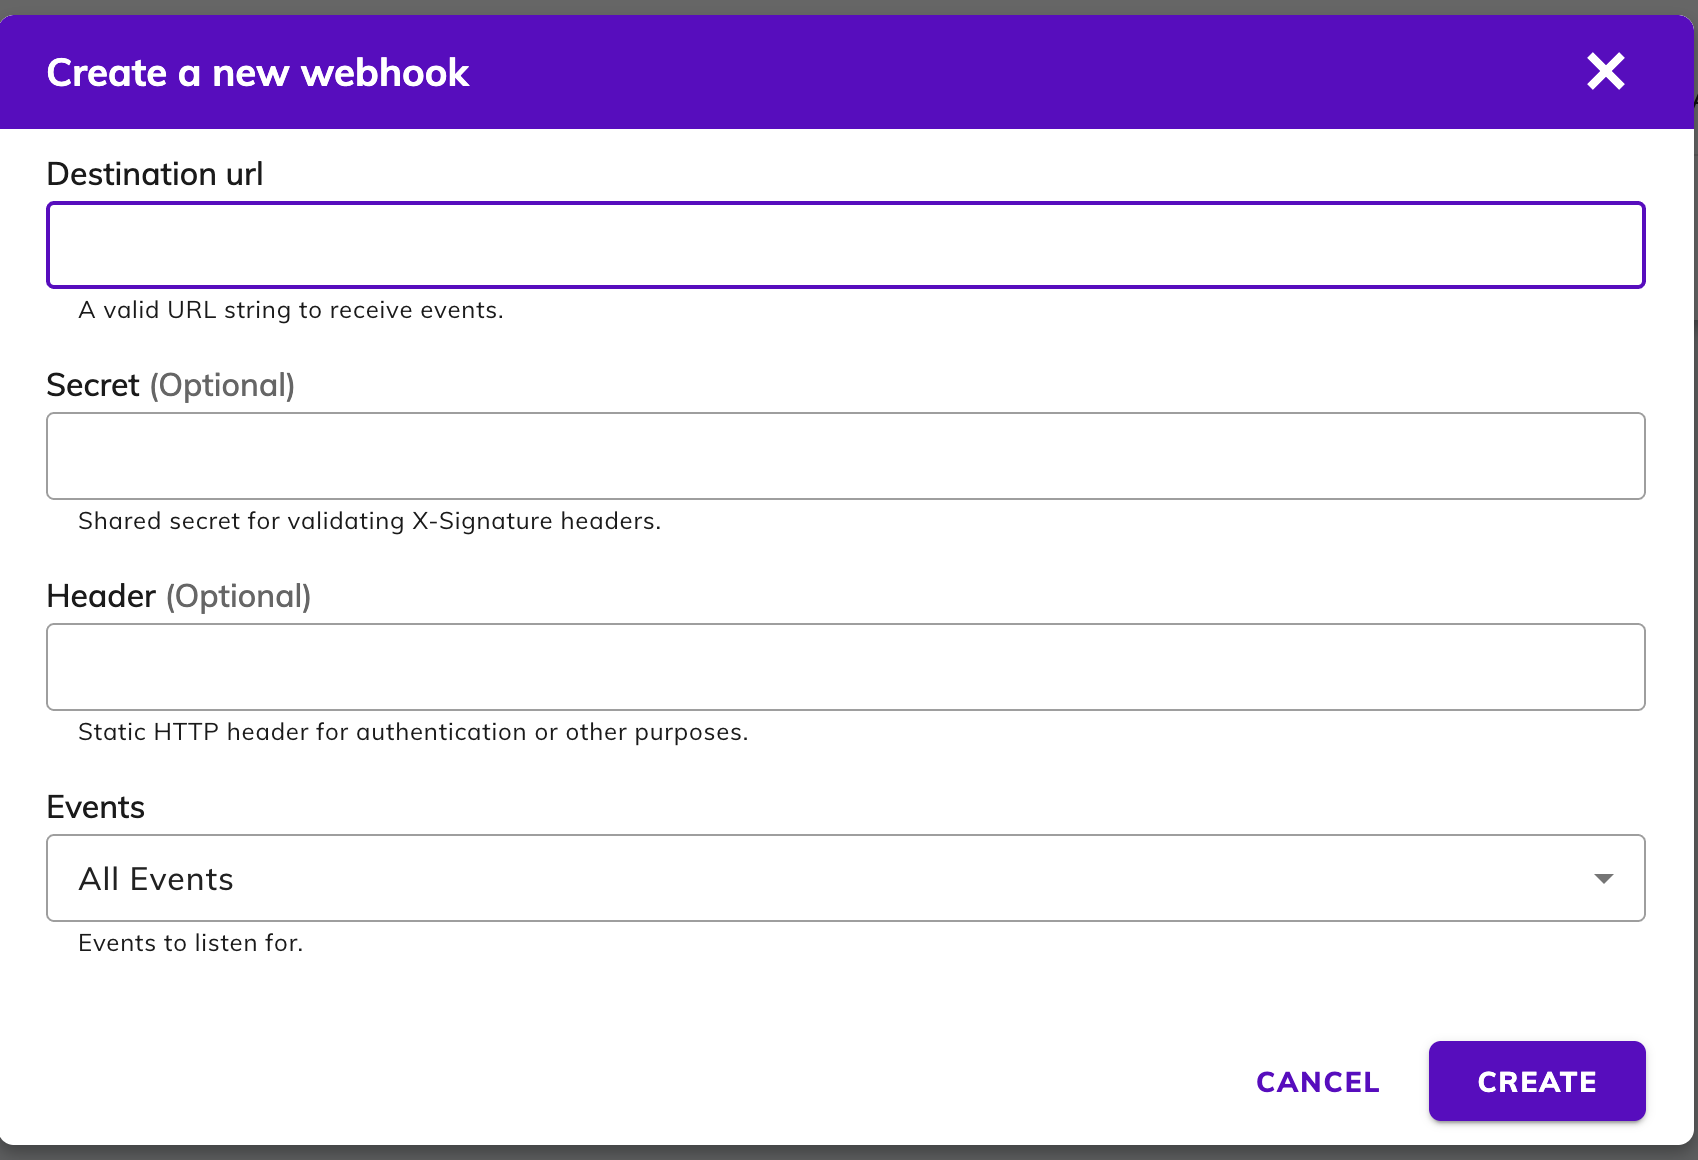
Now that you've obtained access to the webhook configuration panel, it's time to create a webhook subscription.
The following configuration options exist for creating a webhook:
- events
- An array of valid
subjectorsubject:action(see Event Subjects & Payloads for allowed values) - Required: No
- An array of valid
- header
- Static HTTP header for authentication or other purposes.
- Required: No
- secret
- Shared secret for validating X-Signature headers
- Required: No
- url
- A valid URL string to receive events
- Required: Yes
Receive a Webhook Event
Now that we've successfully created a webhook subscription and verified that the webhook subscription exists and is active, we can use our beta environment Terminal to create a webhook event that you can receive.
To start, log in to your agency's beta environment Terminal.
- If you aren't sure what your Terminal URL is or whether you have access, contact your agency's point of contact for your partnership with Bold Penguin.
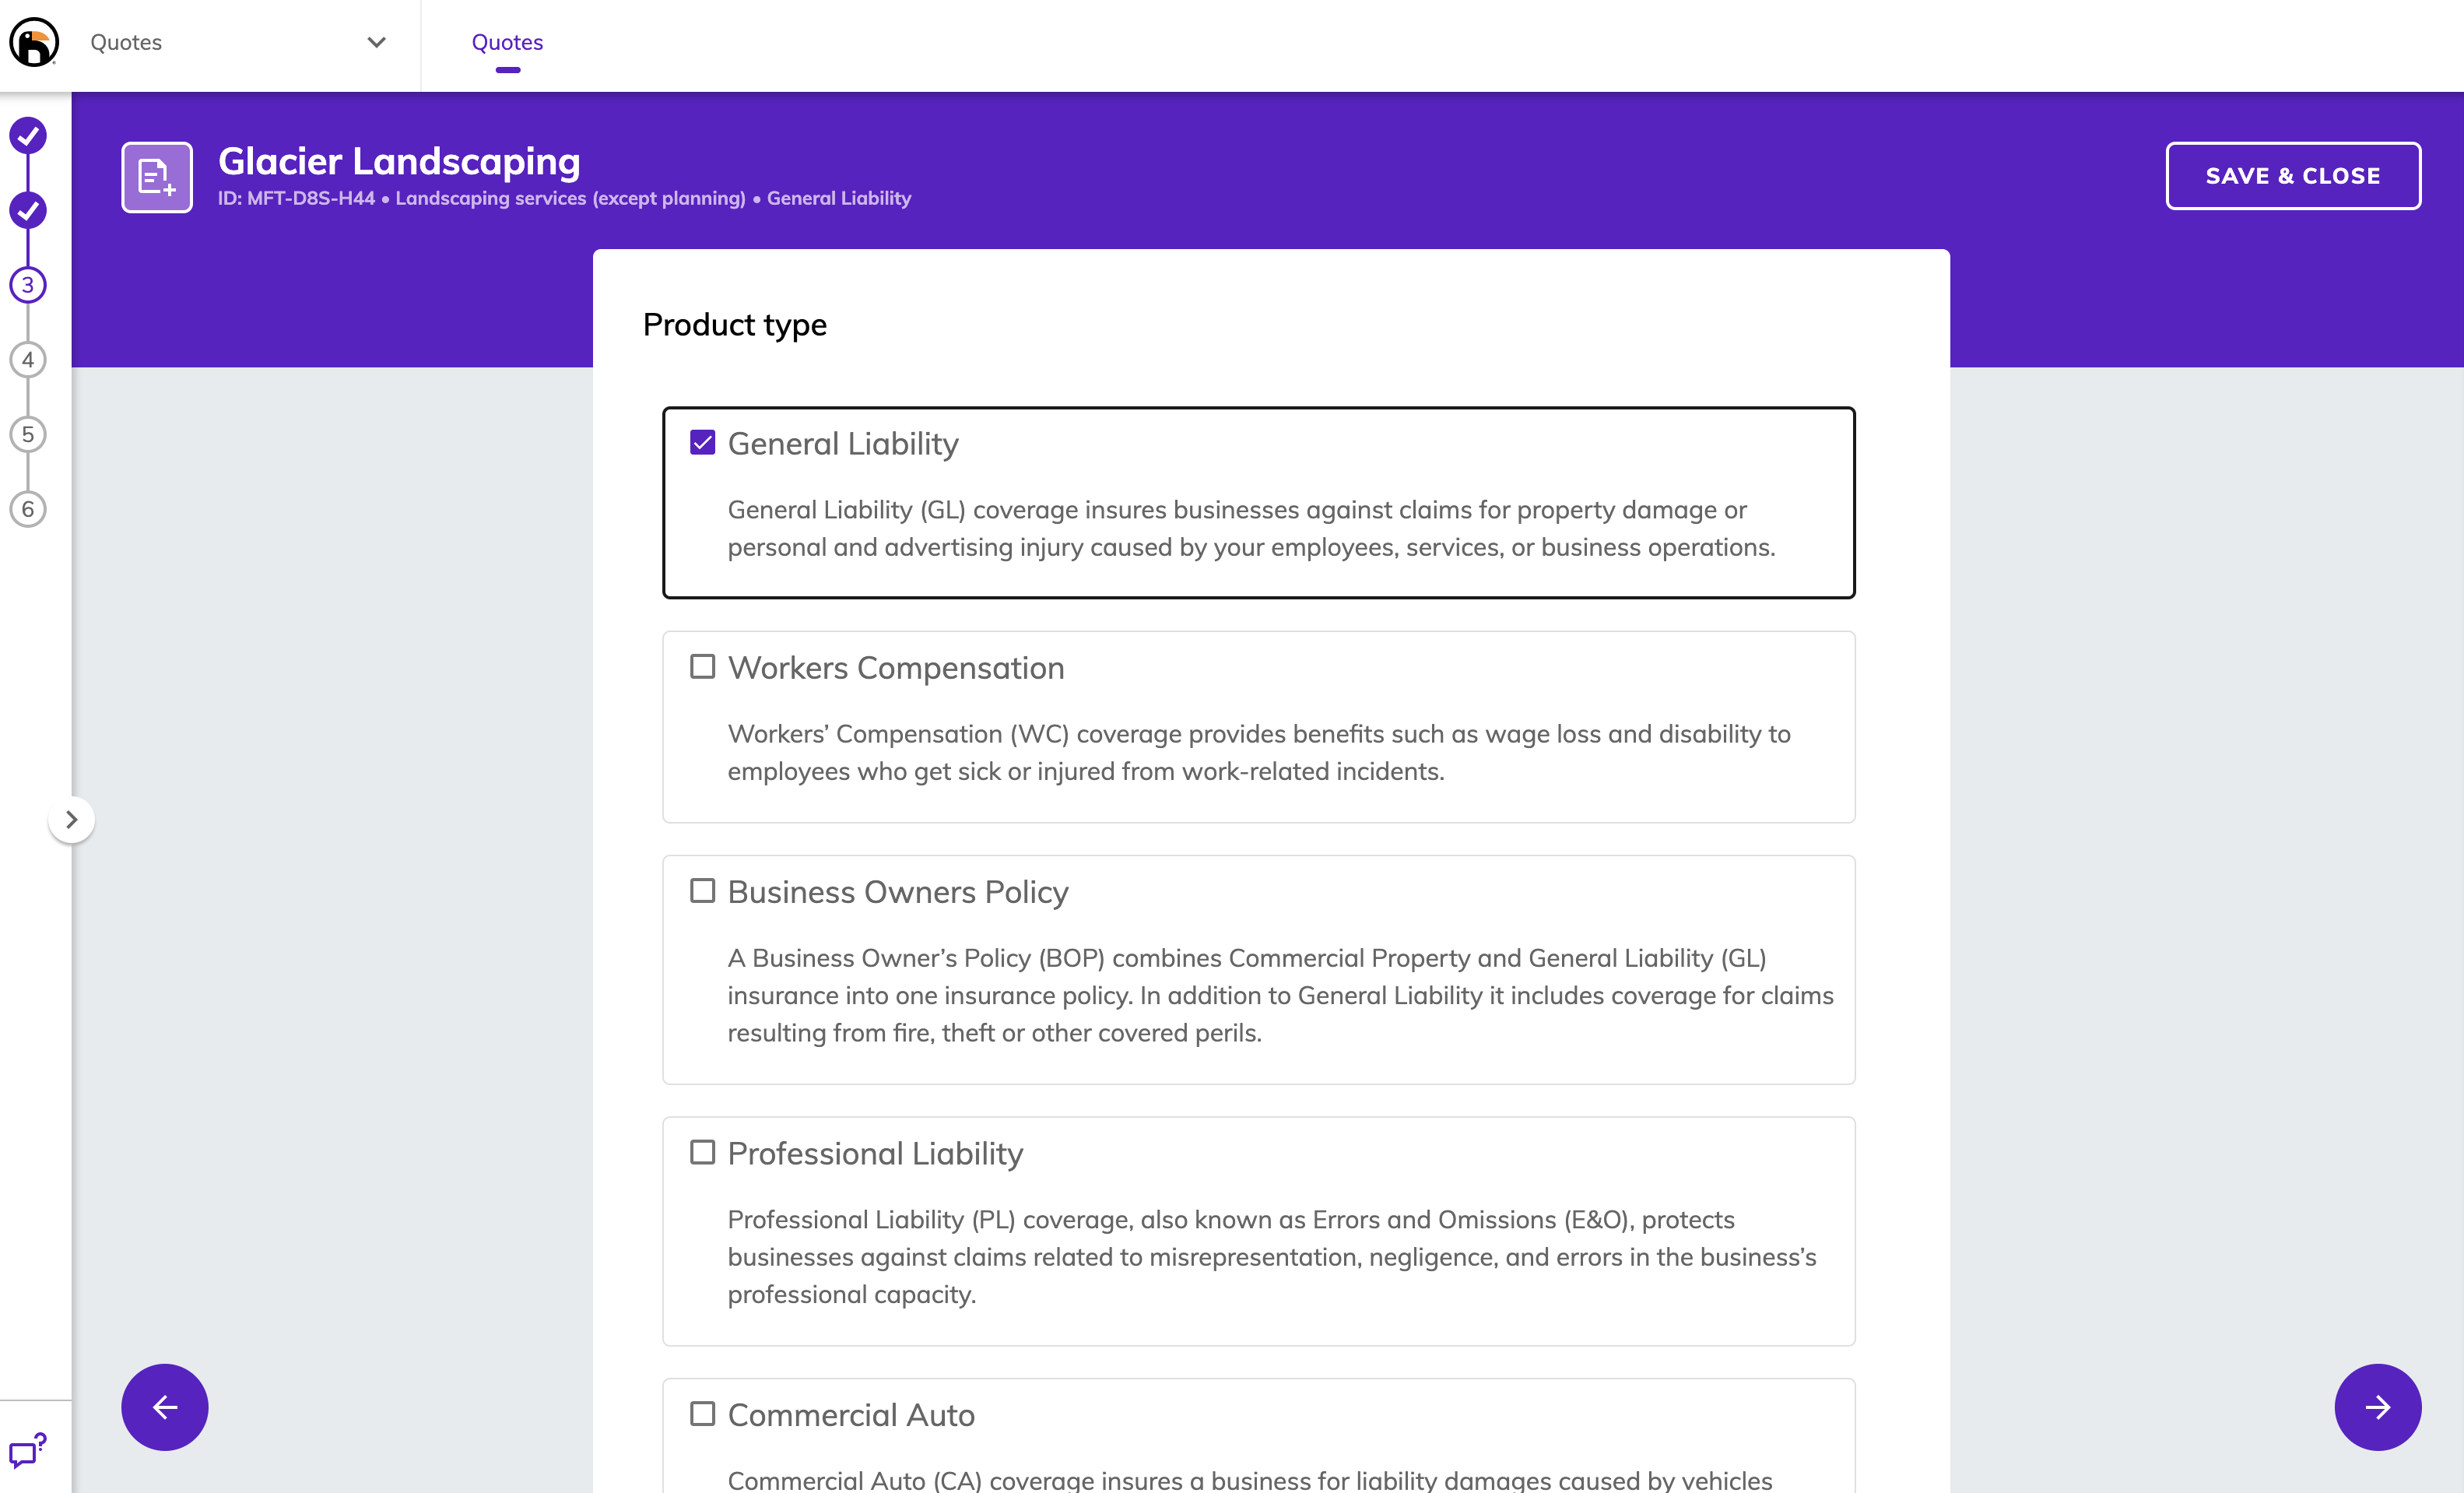
After logging in to your beta environment Terminal, create a new Application Form.
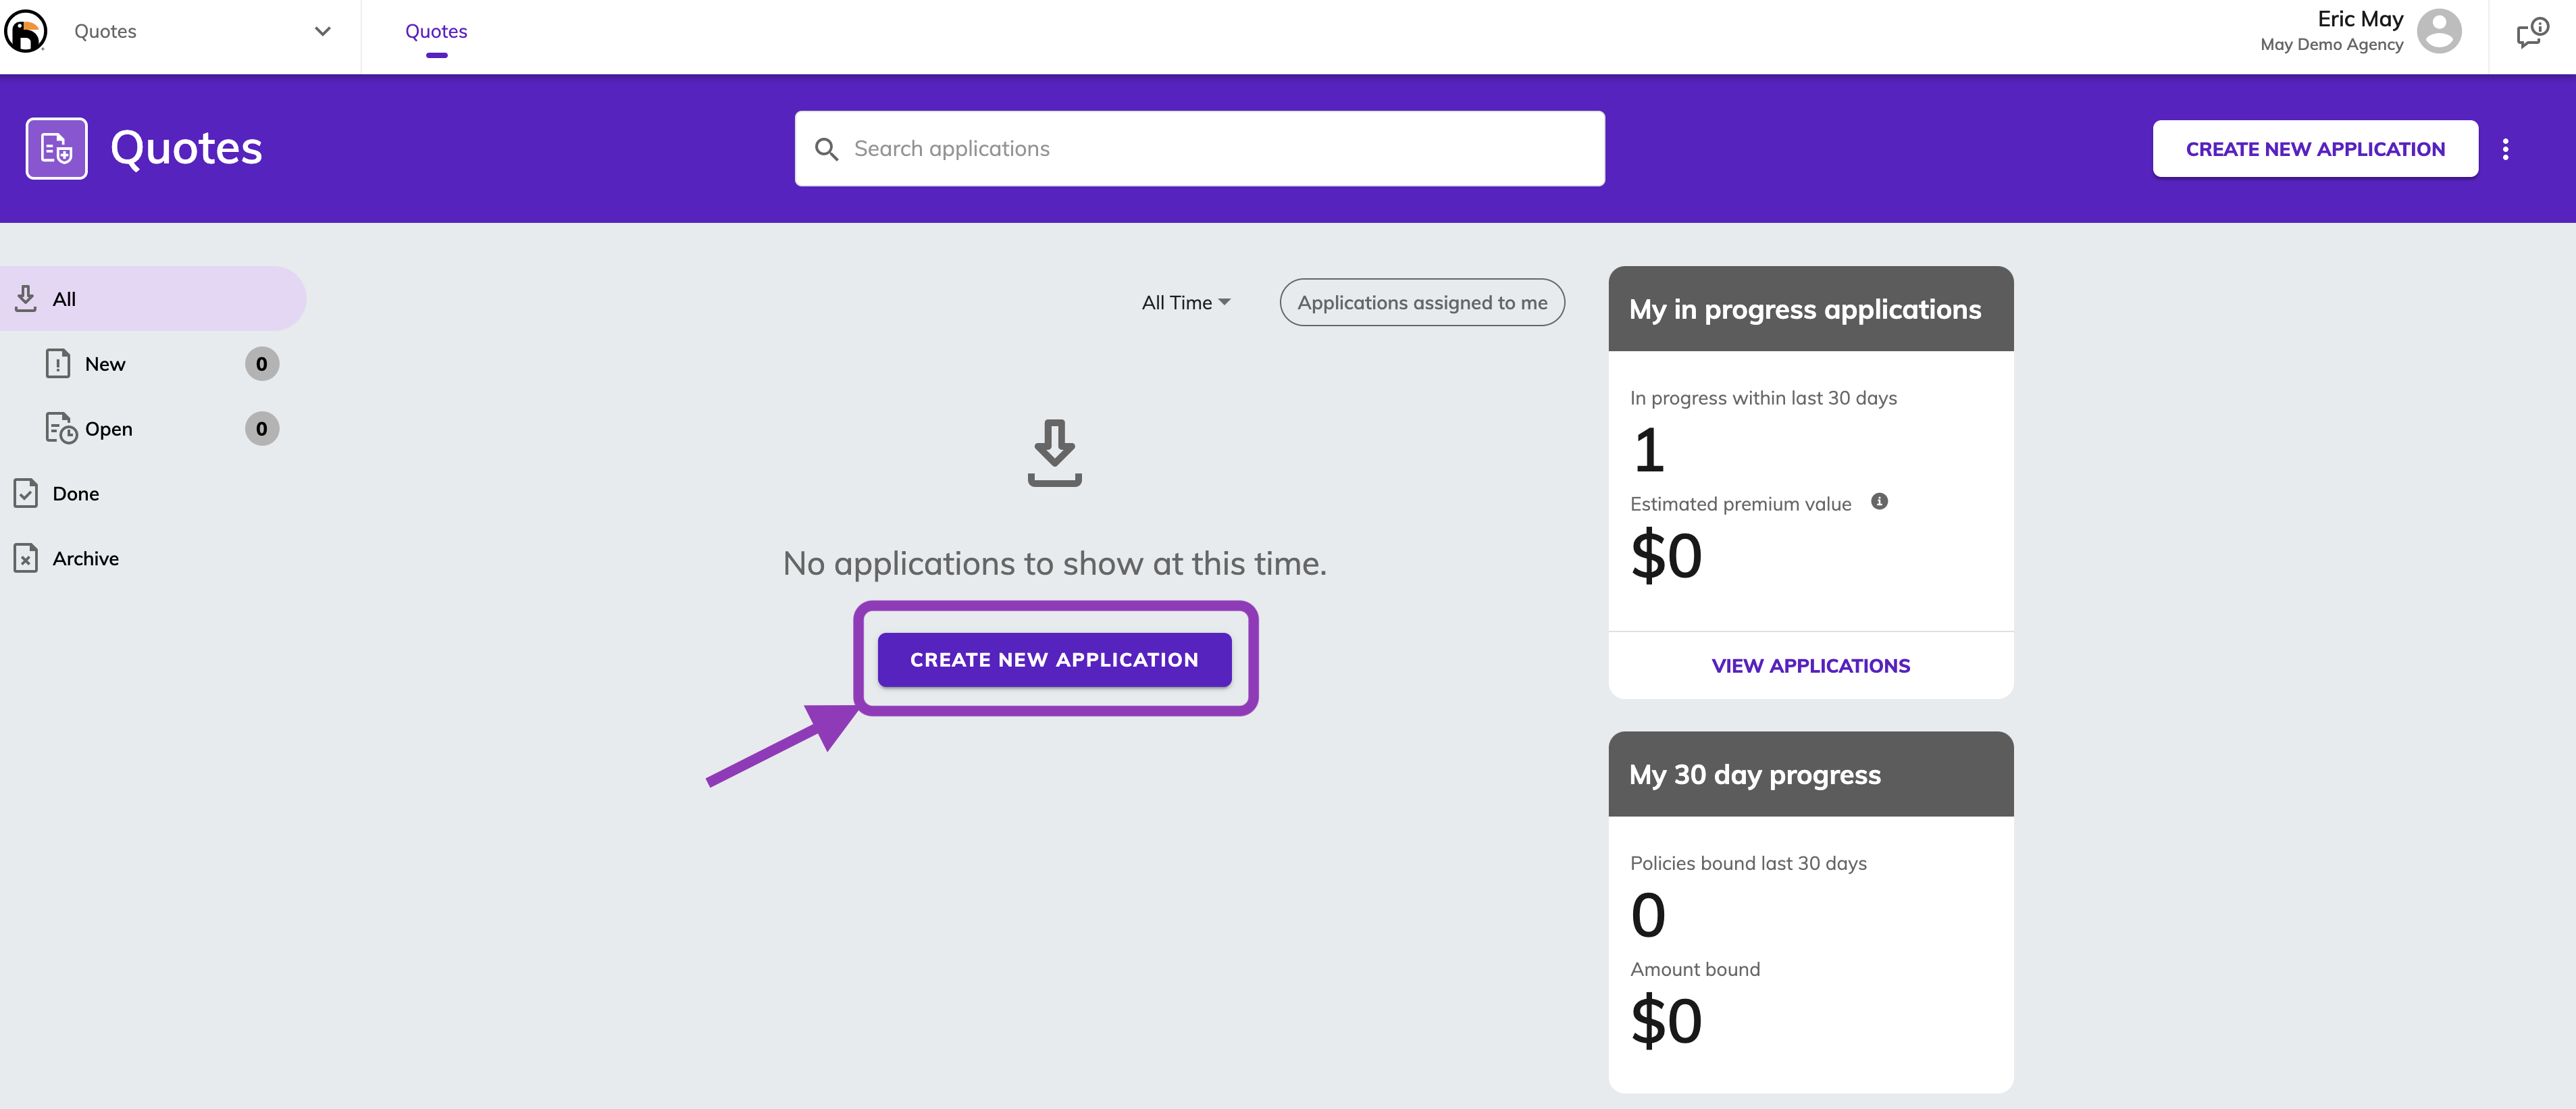
After creating a new Application Form, follow the prompts and enter in information. You can use the same information as in the screenshots below. After entering information on each screen, click the next button.
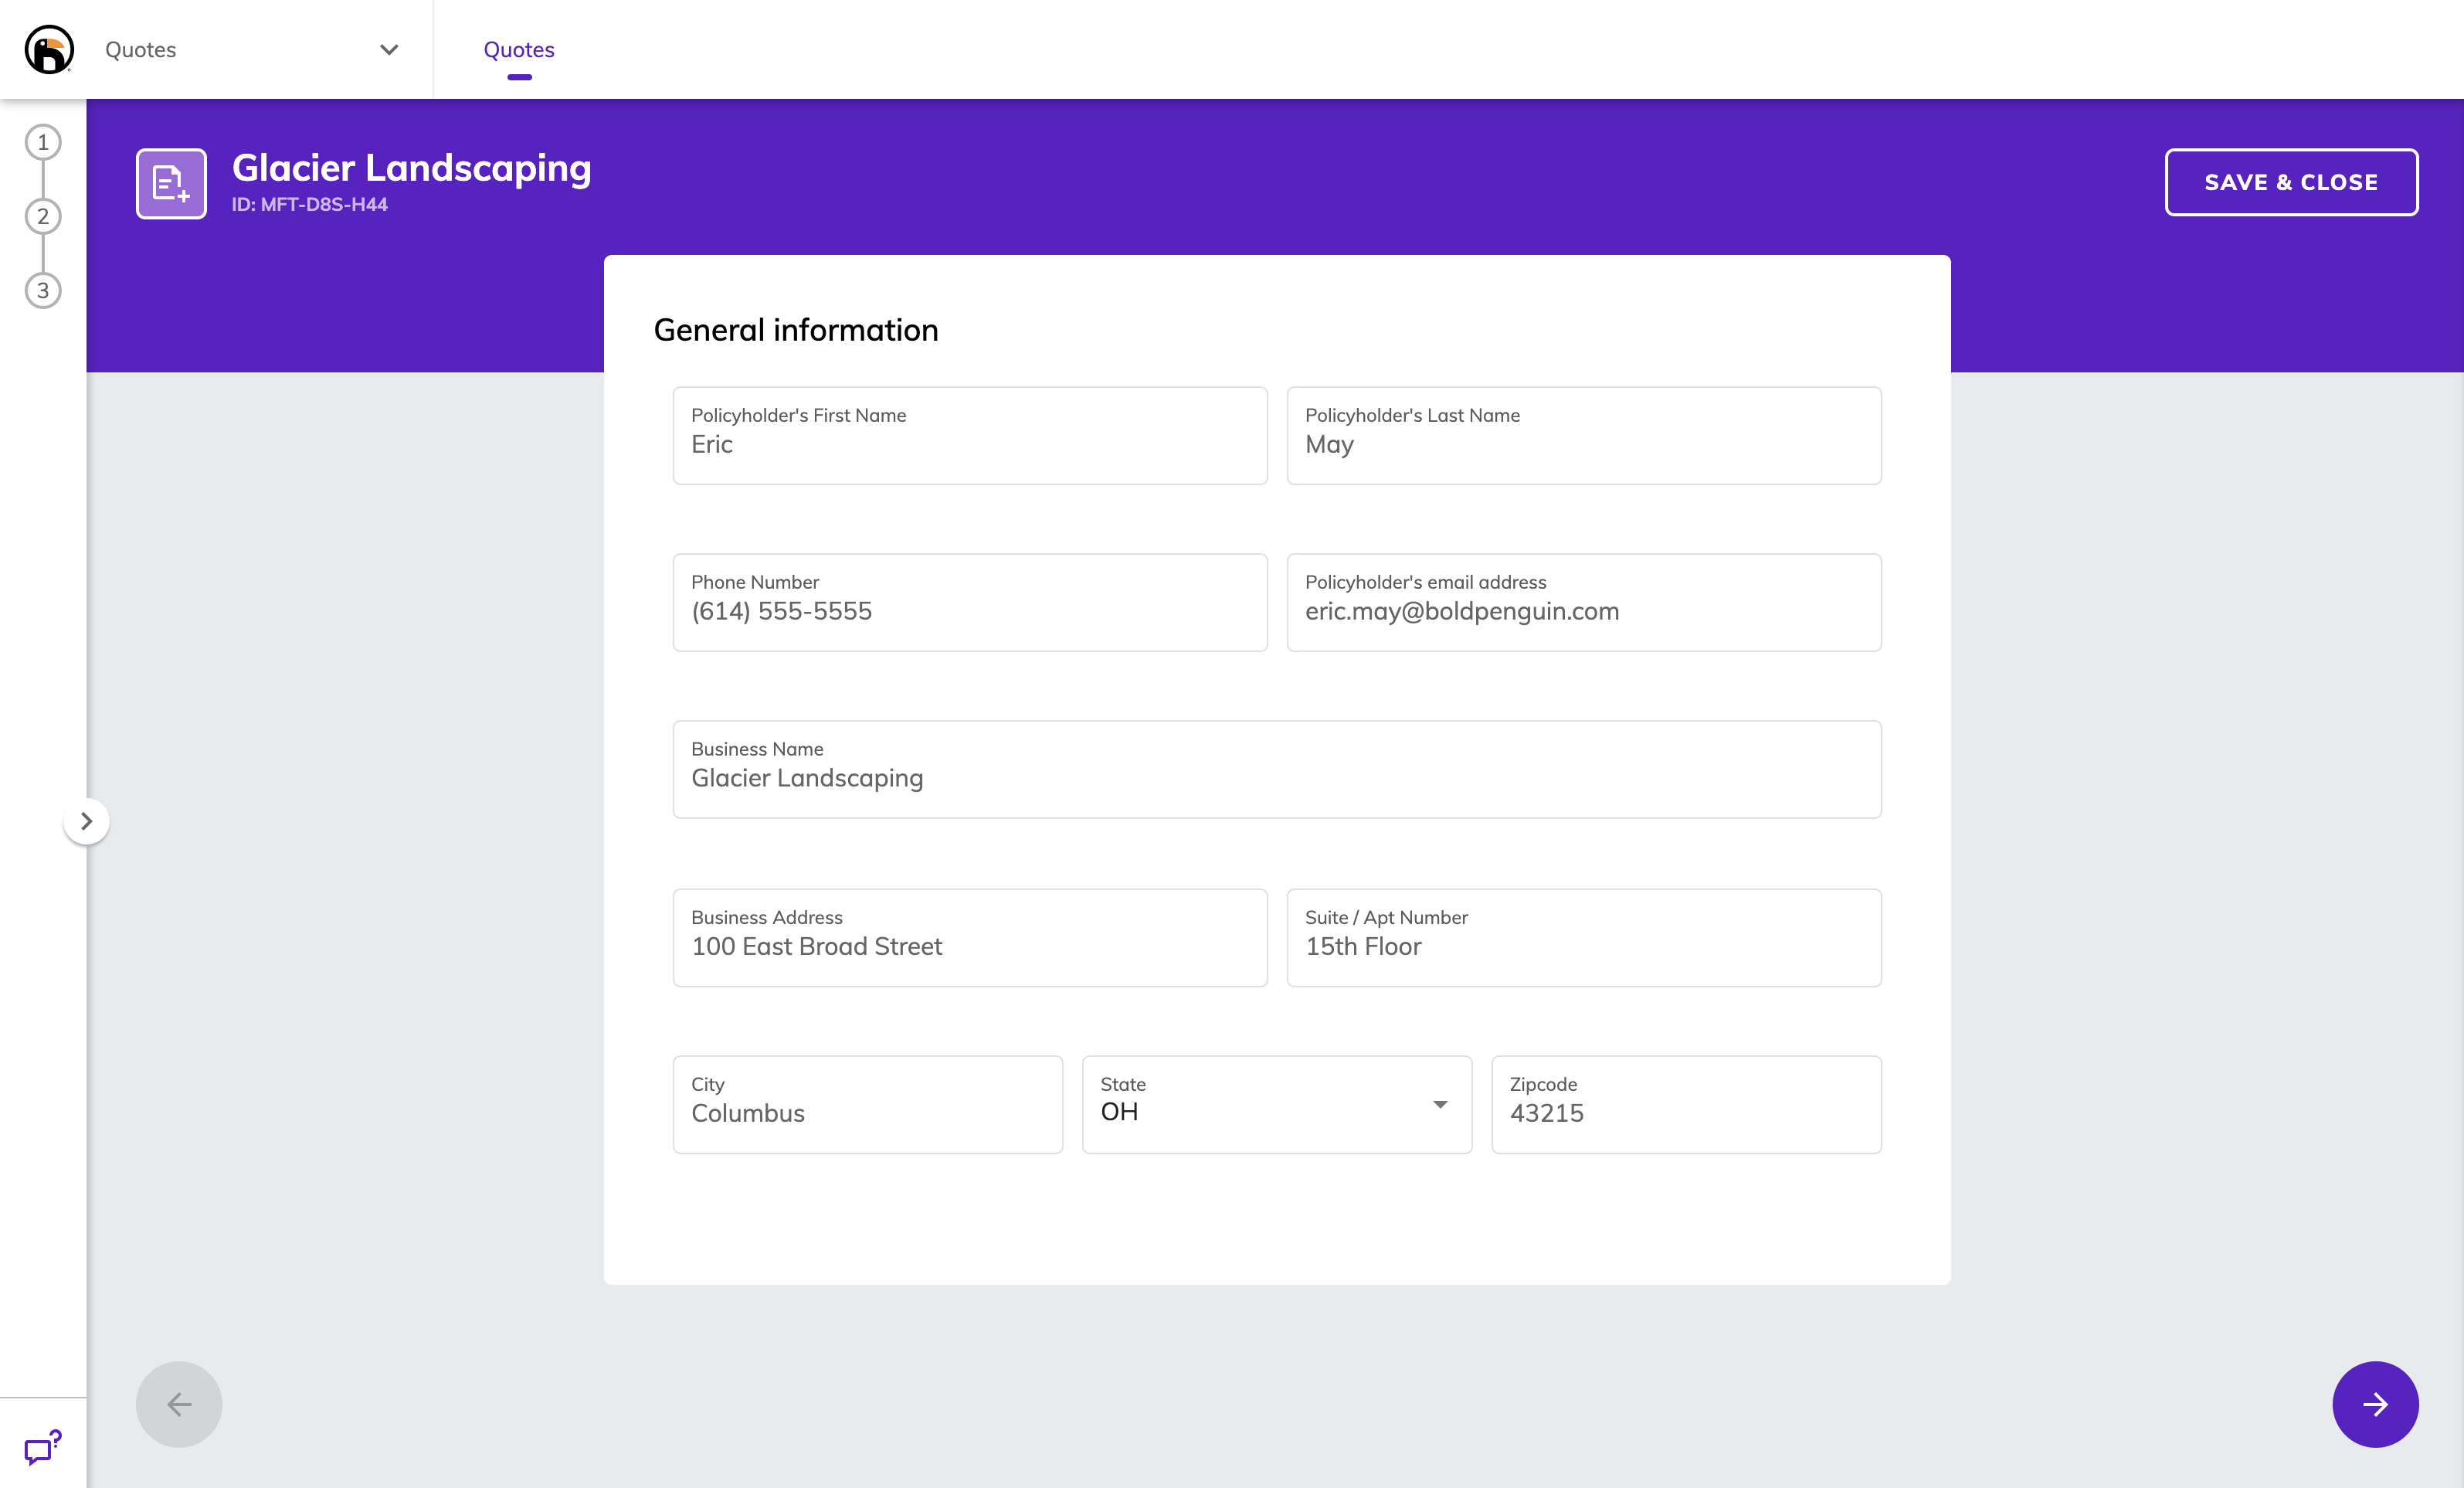
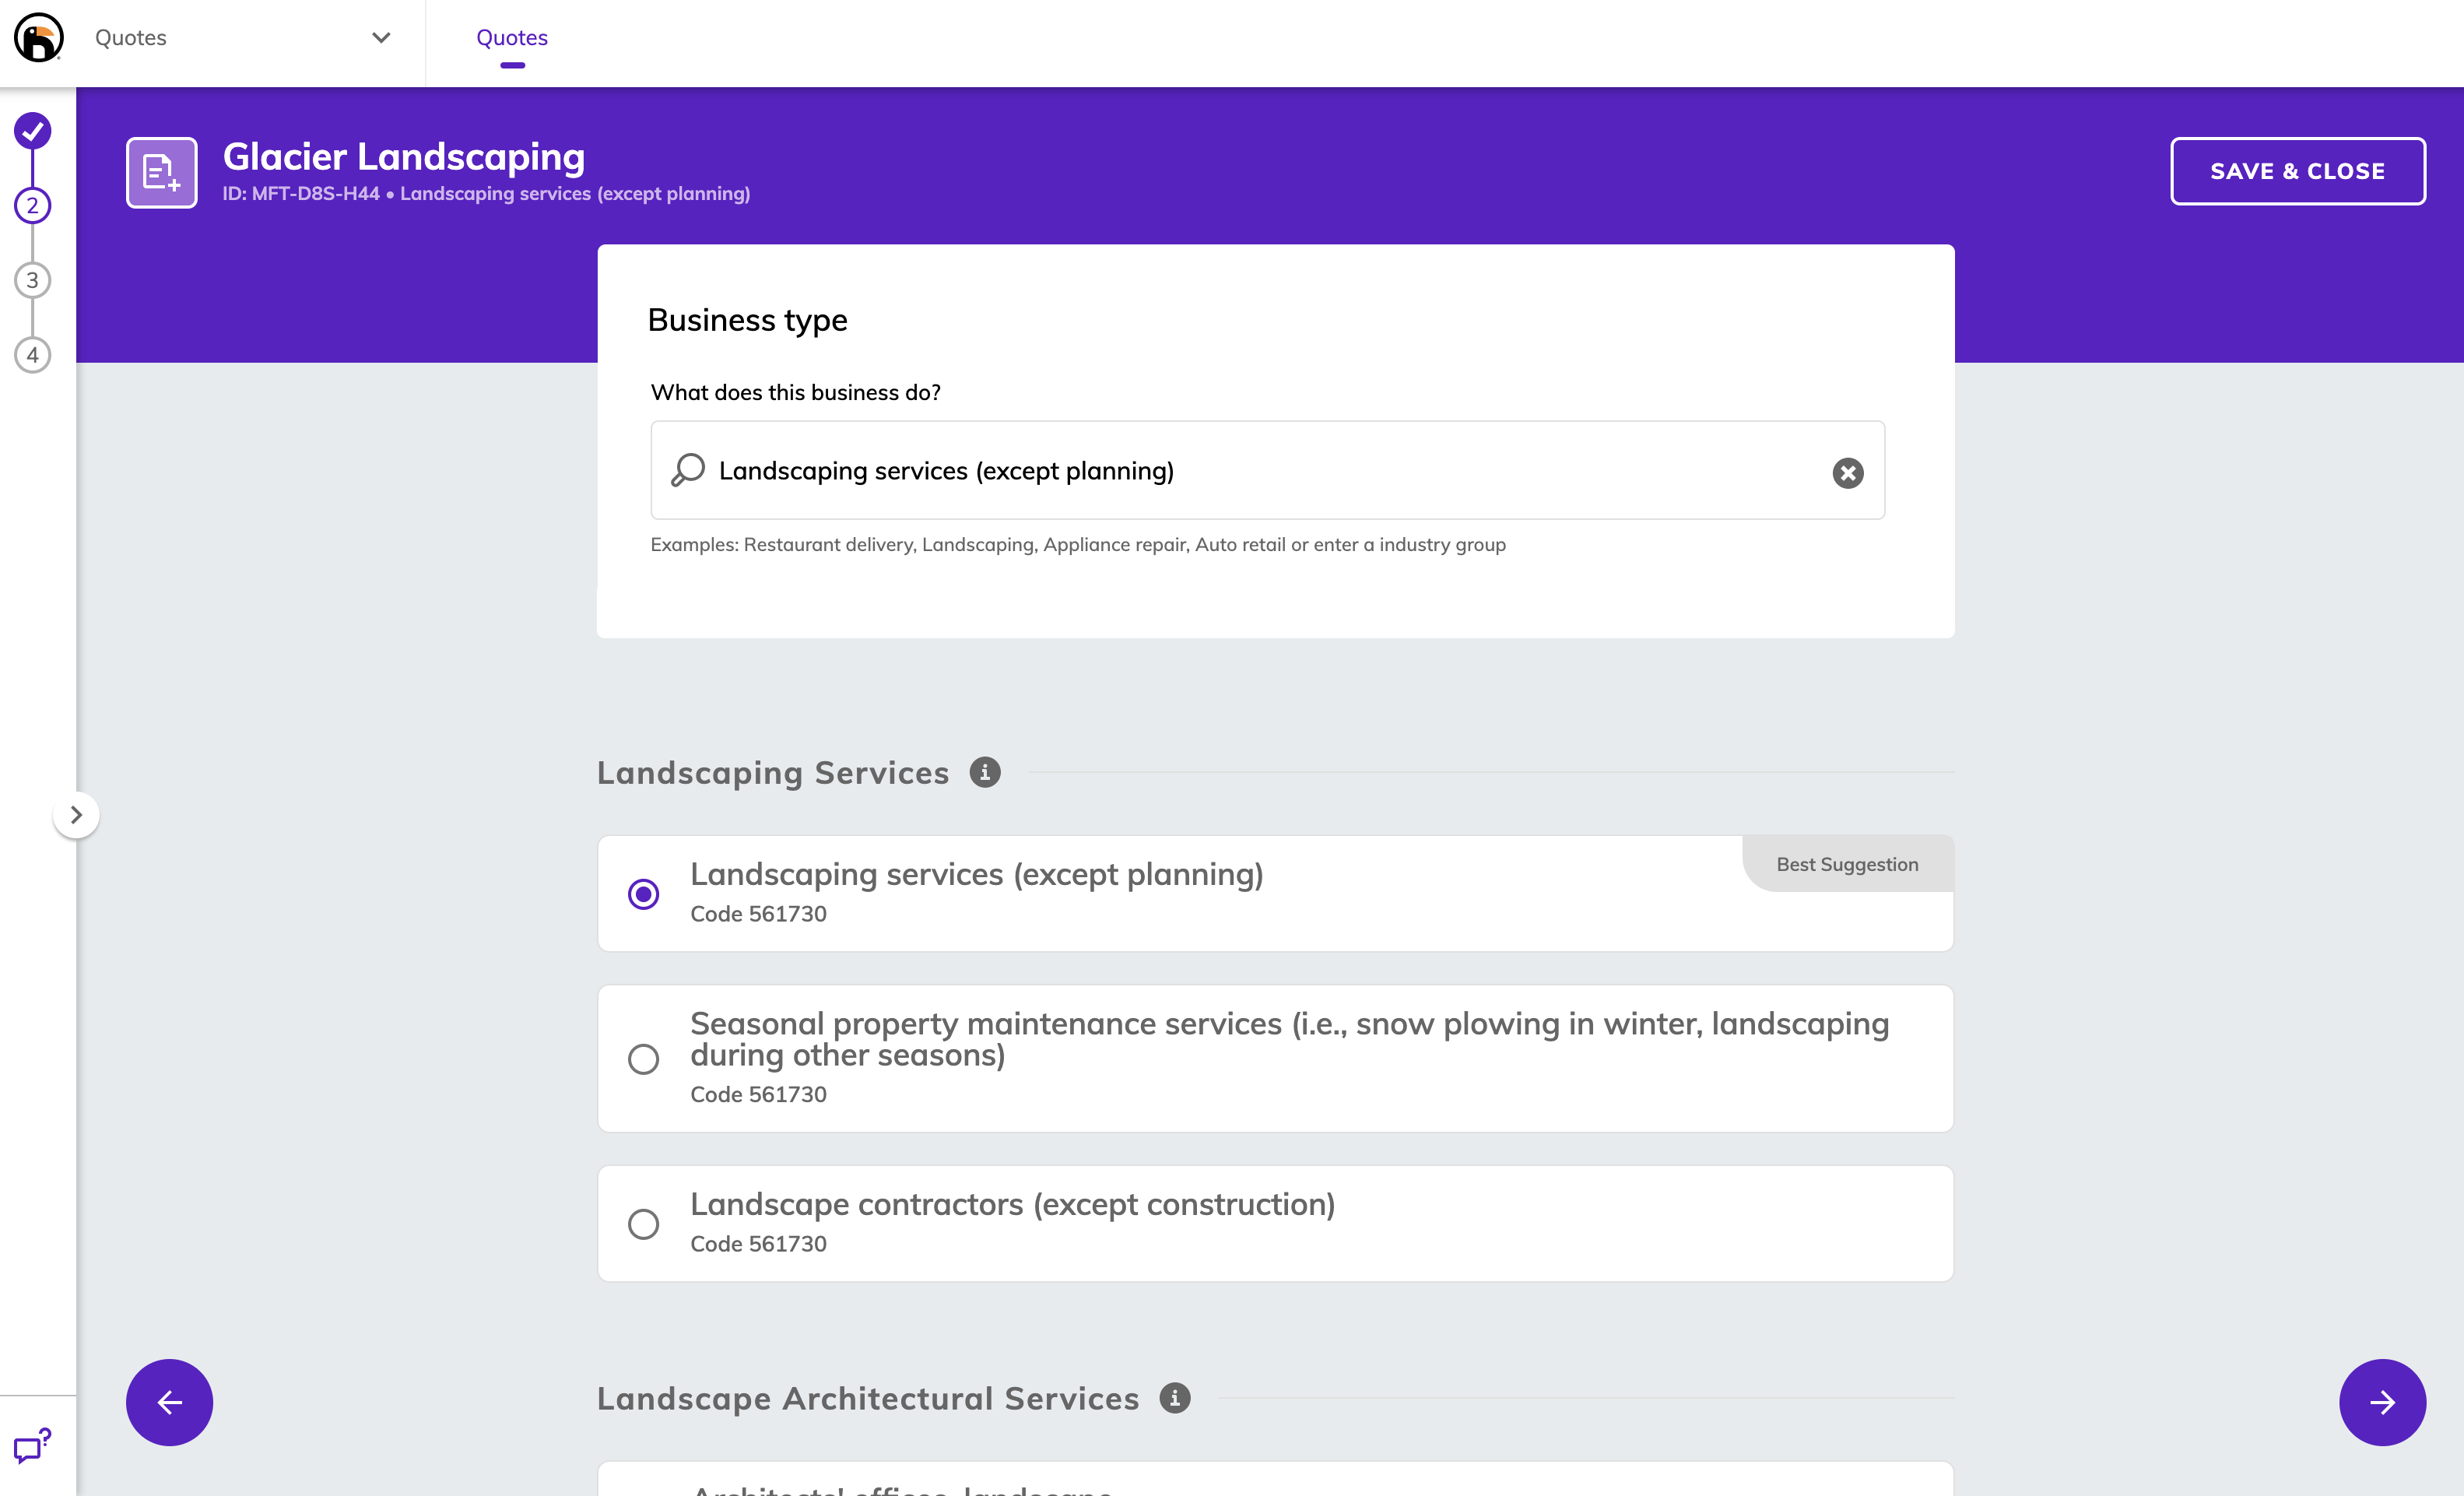
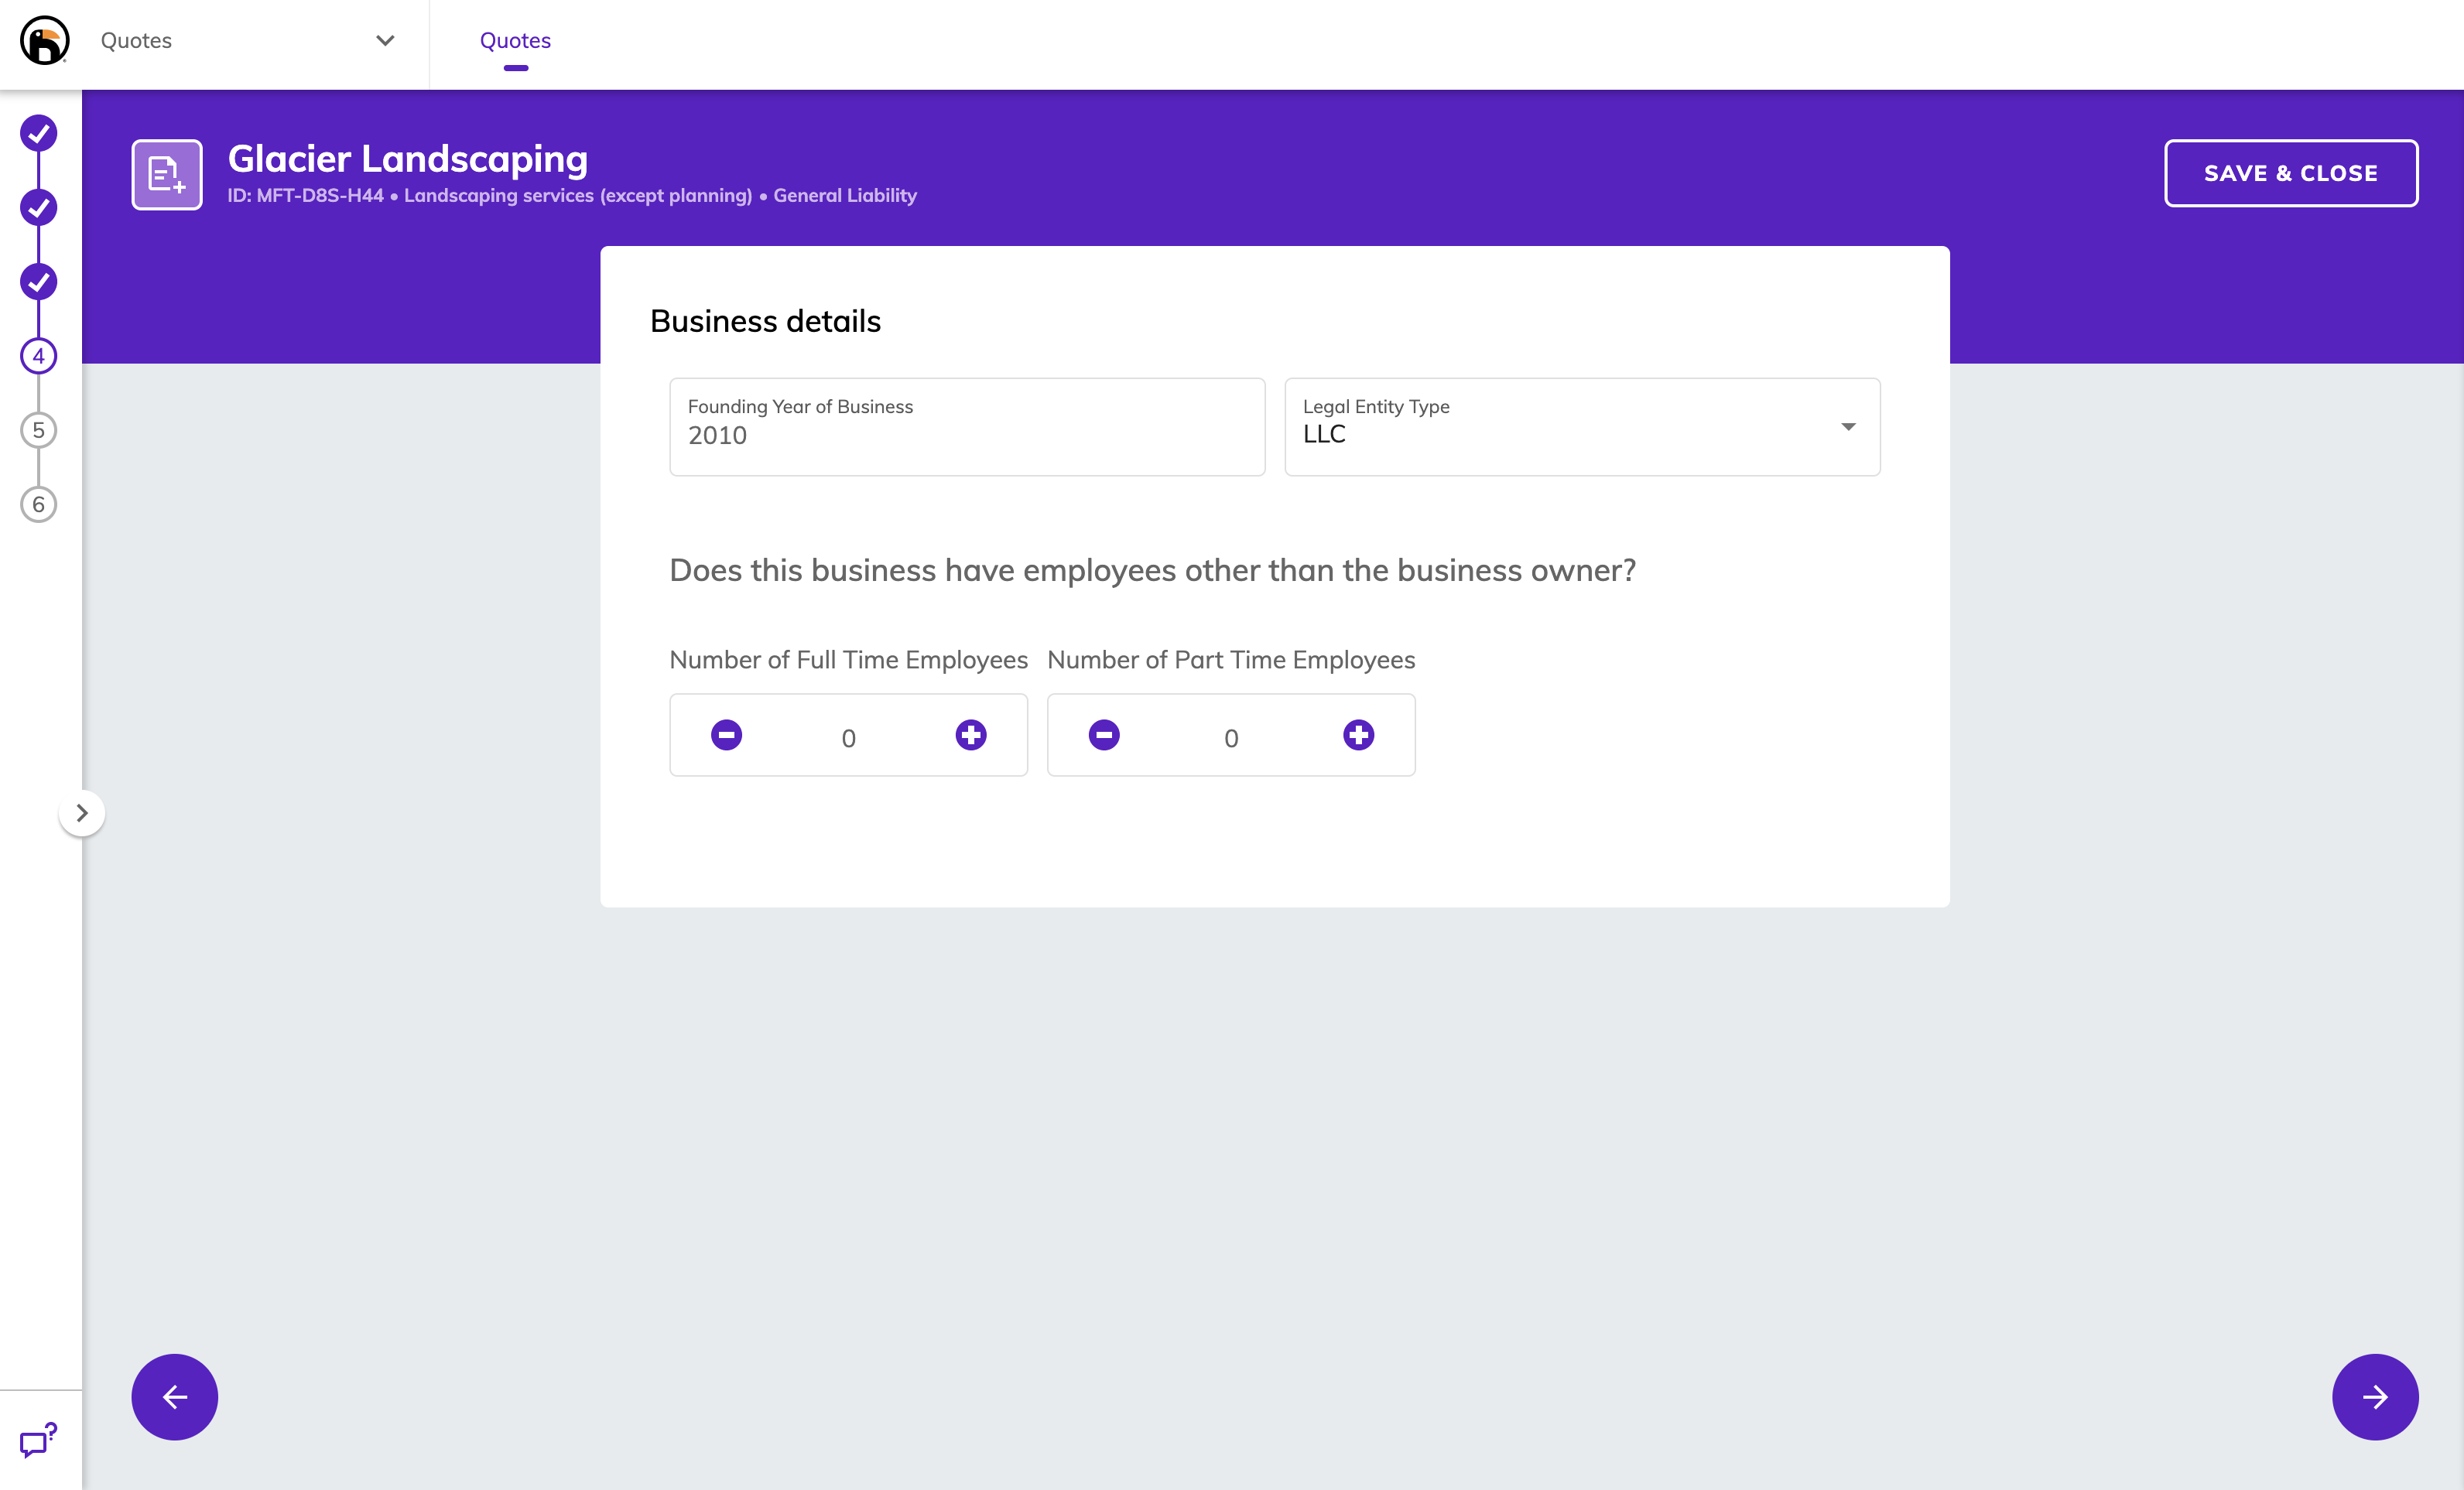
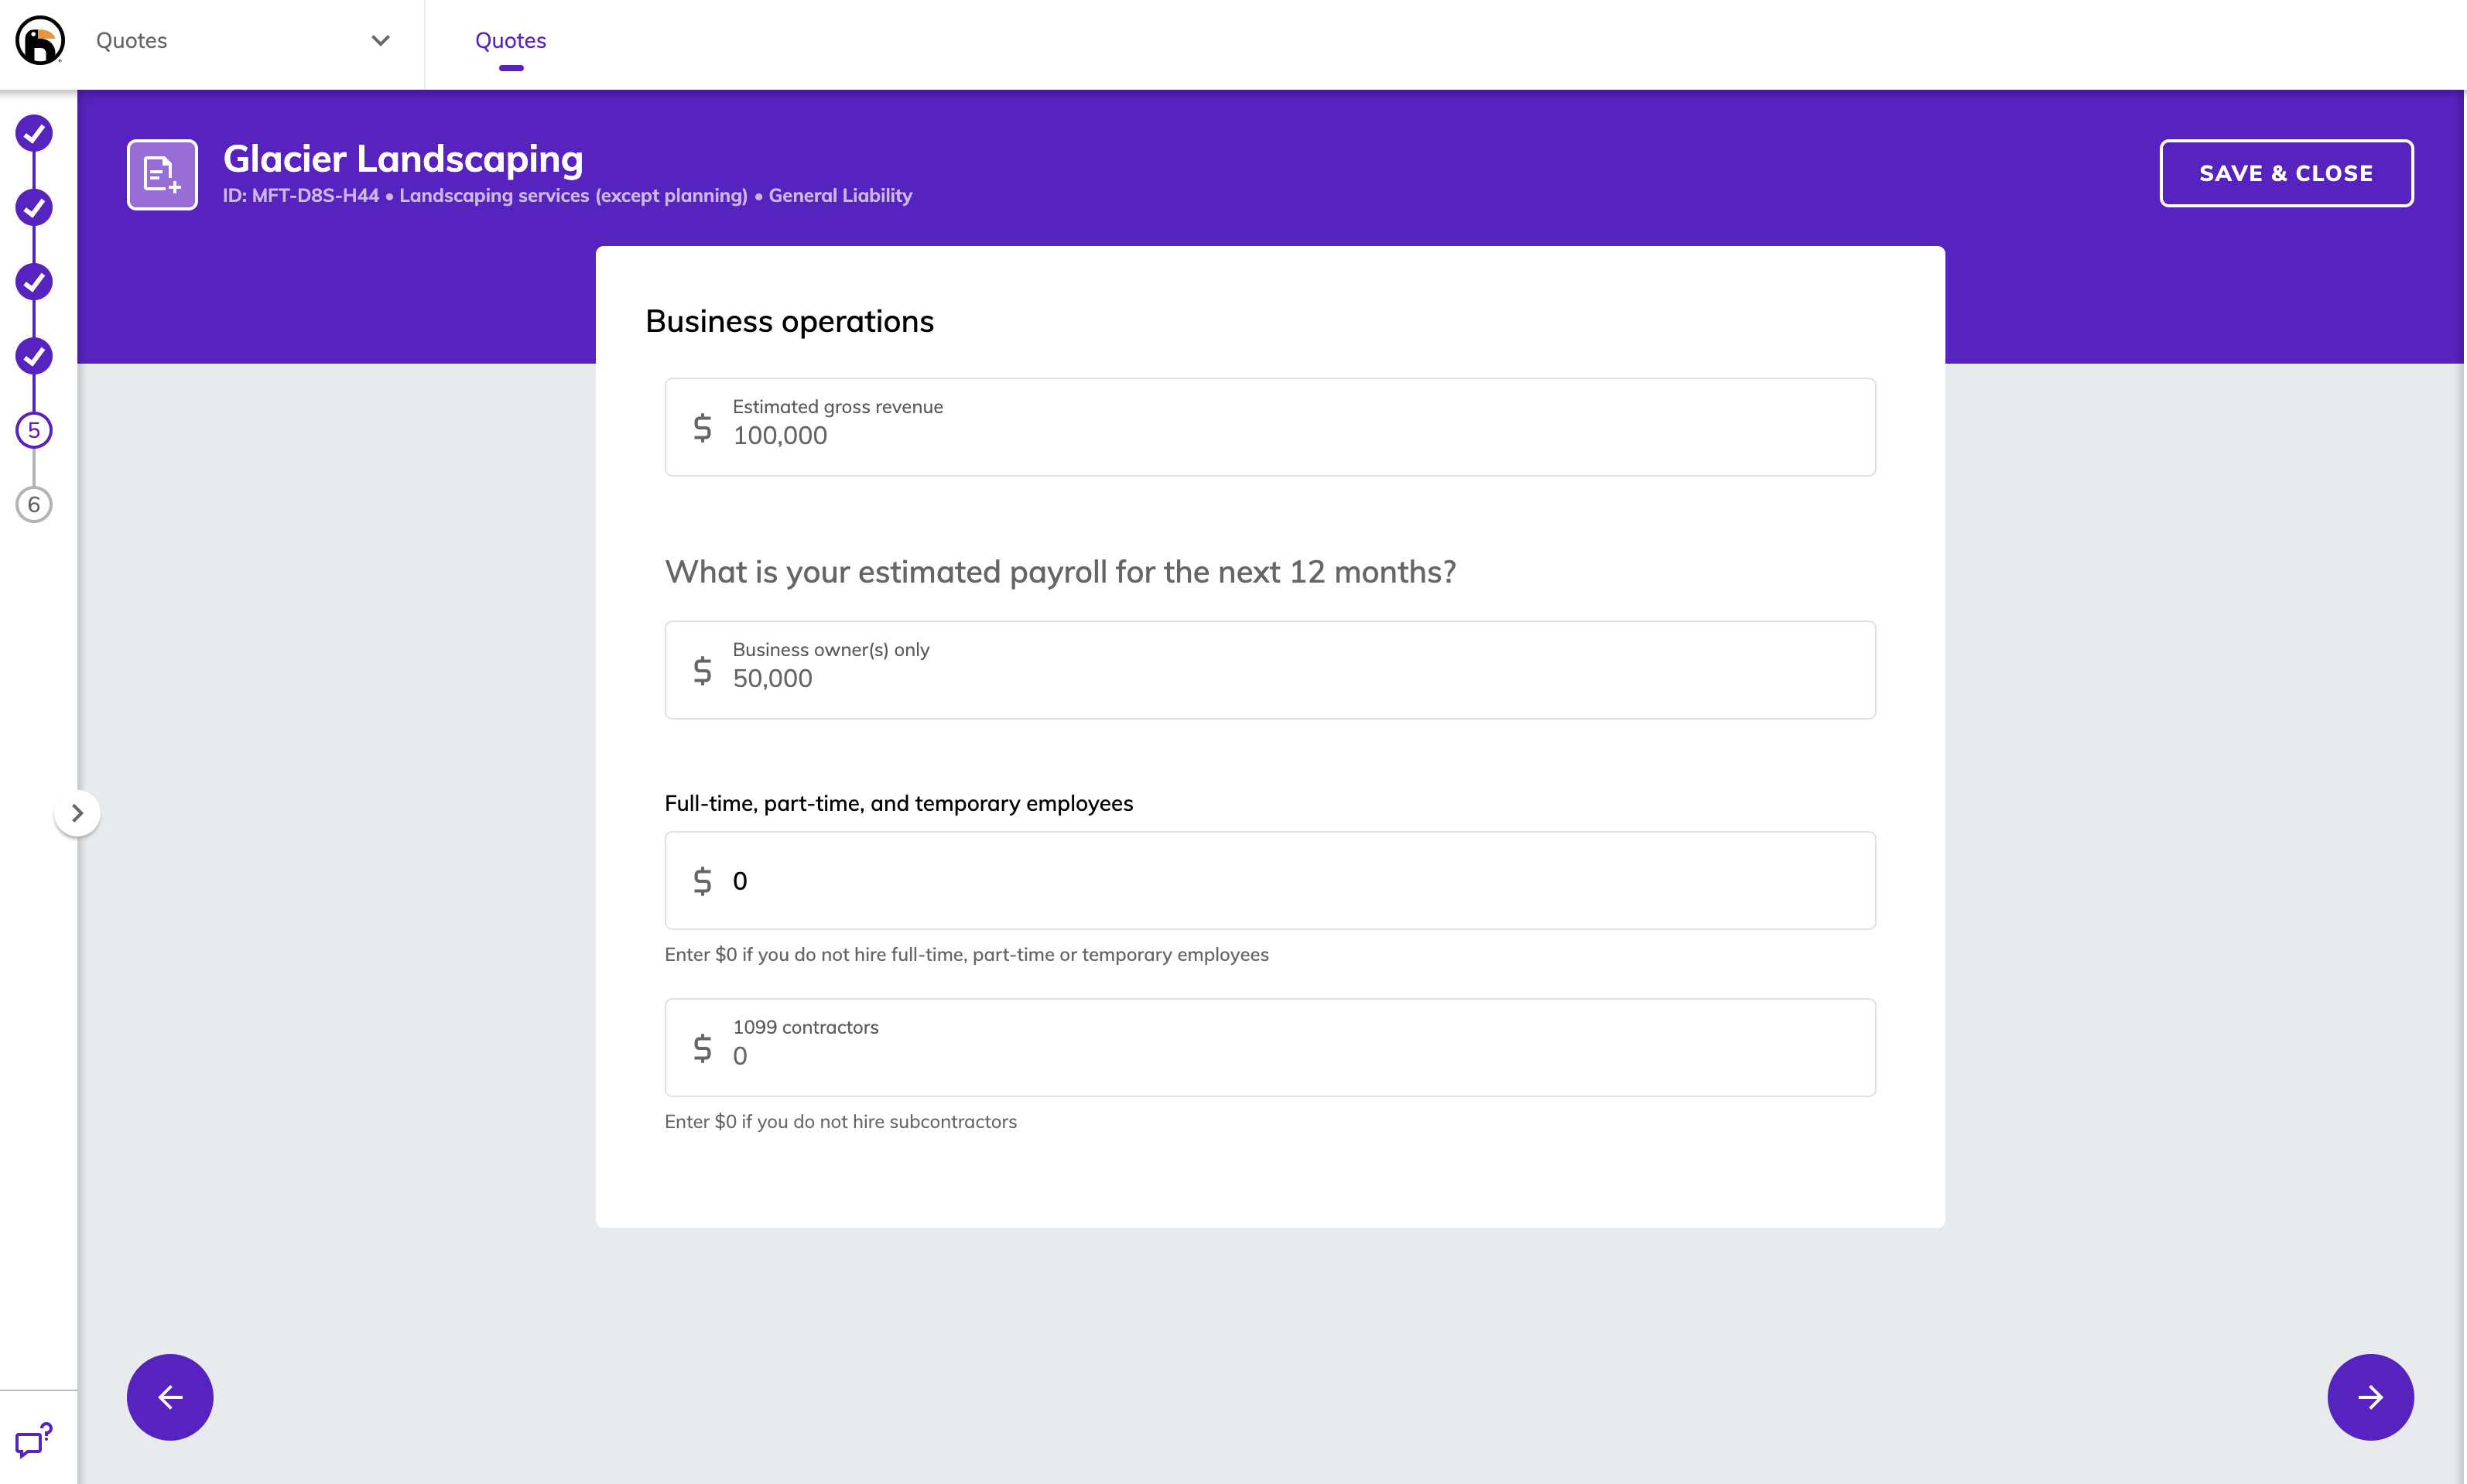
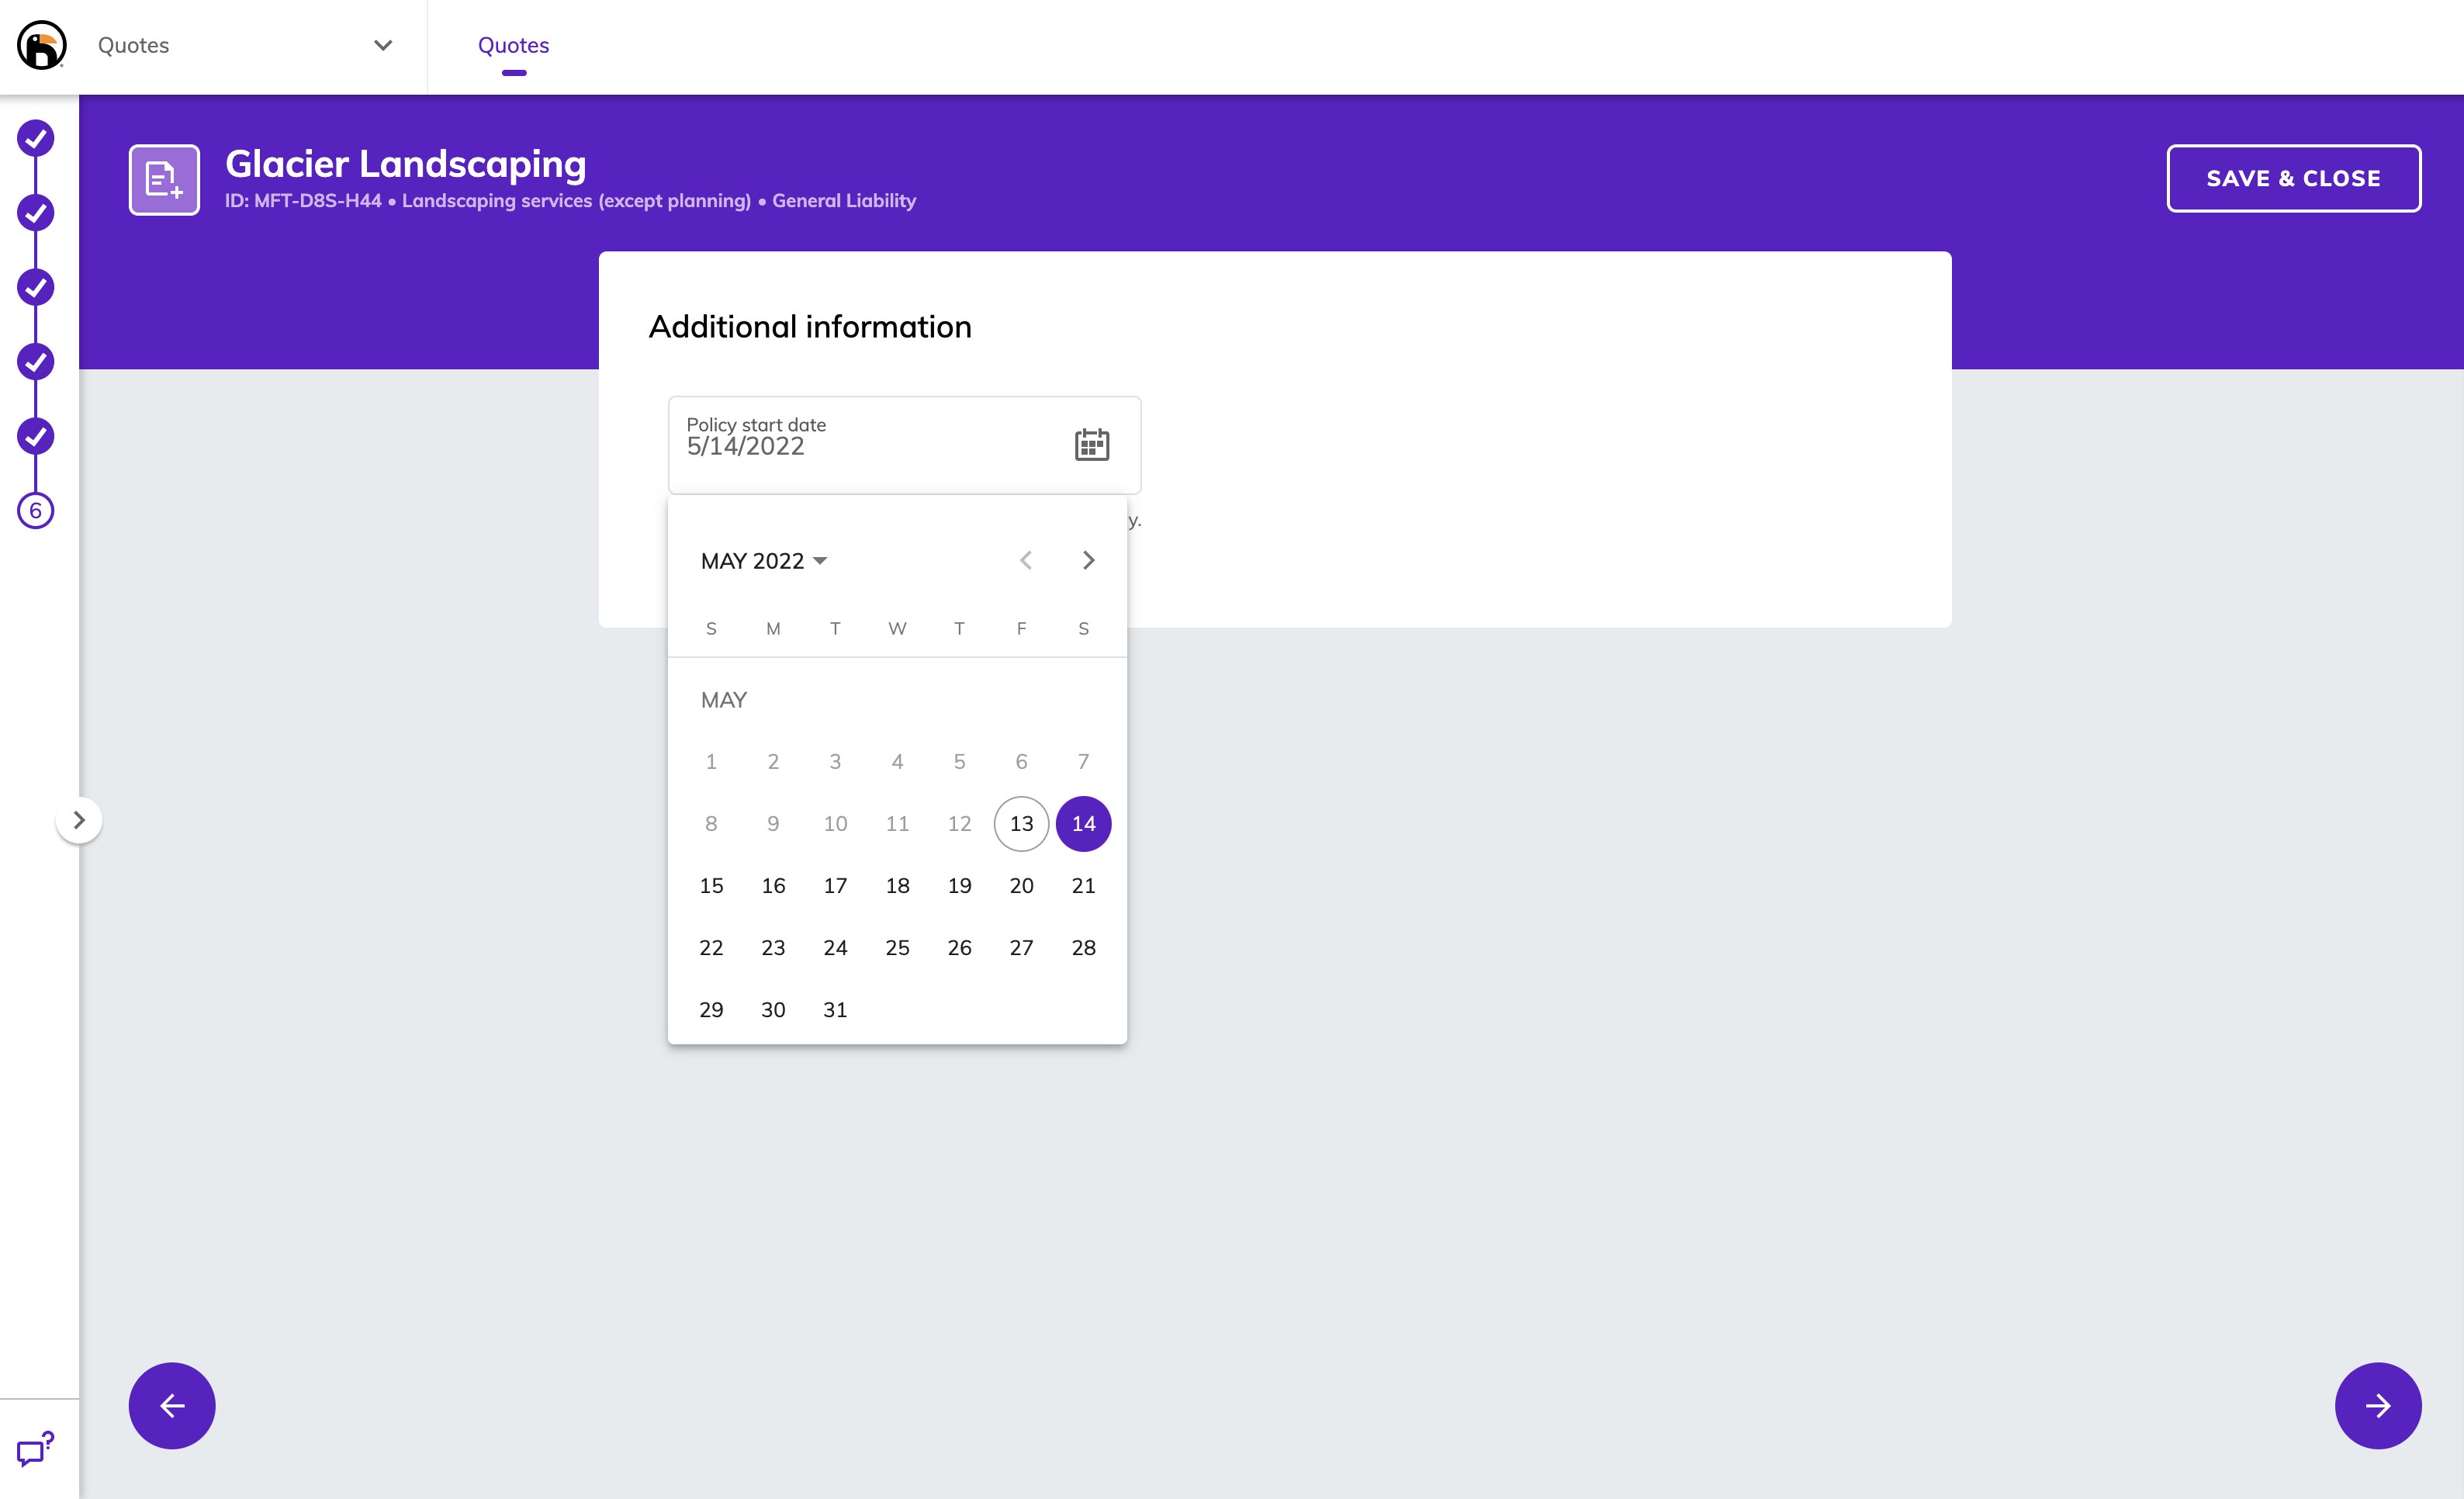
At this point you will be asked to enter additional information that is specific to an individual carrier. Enter generic details and then continue to click the next button.
Finally, select save and close.

Once you have completed creating an application form, navigate back to the webhook menu and open the actions menu for your recently selected webhook.
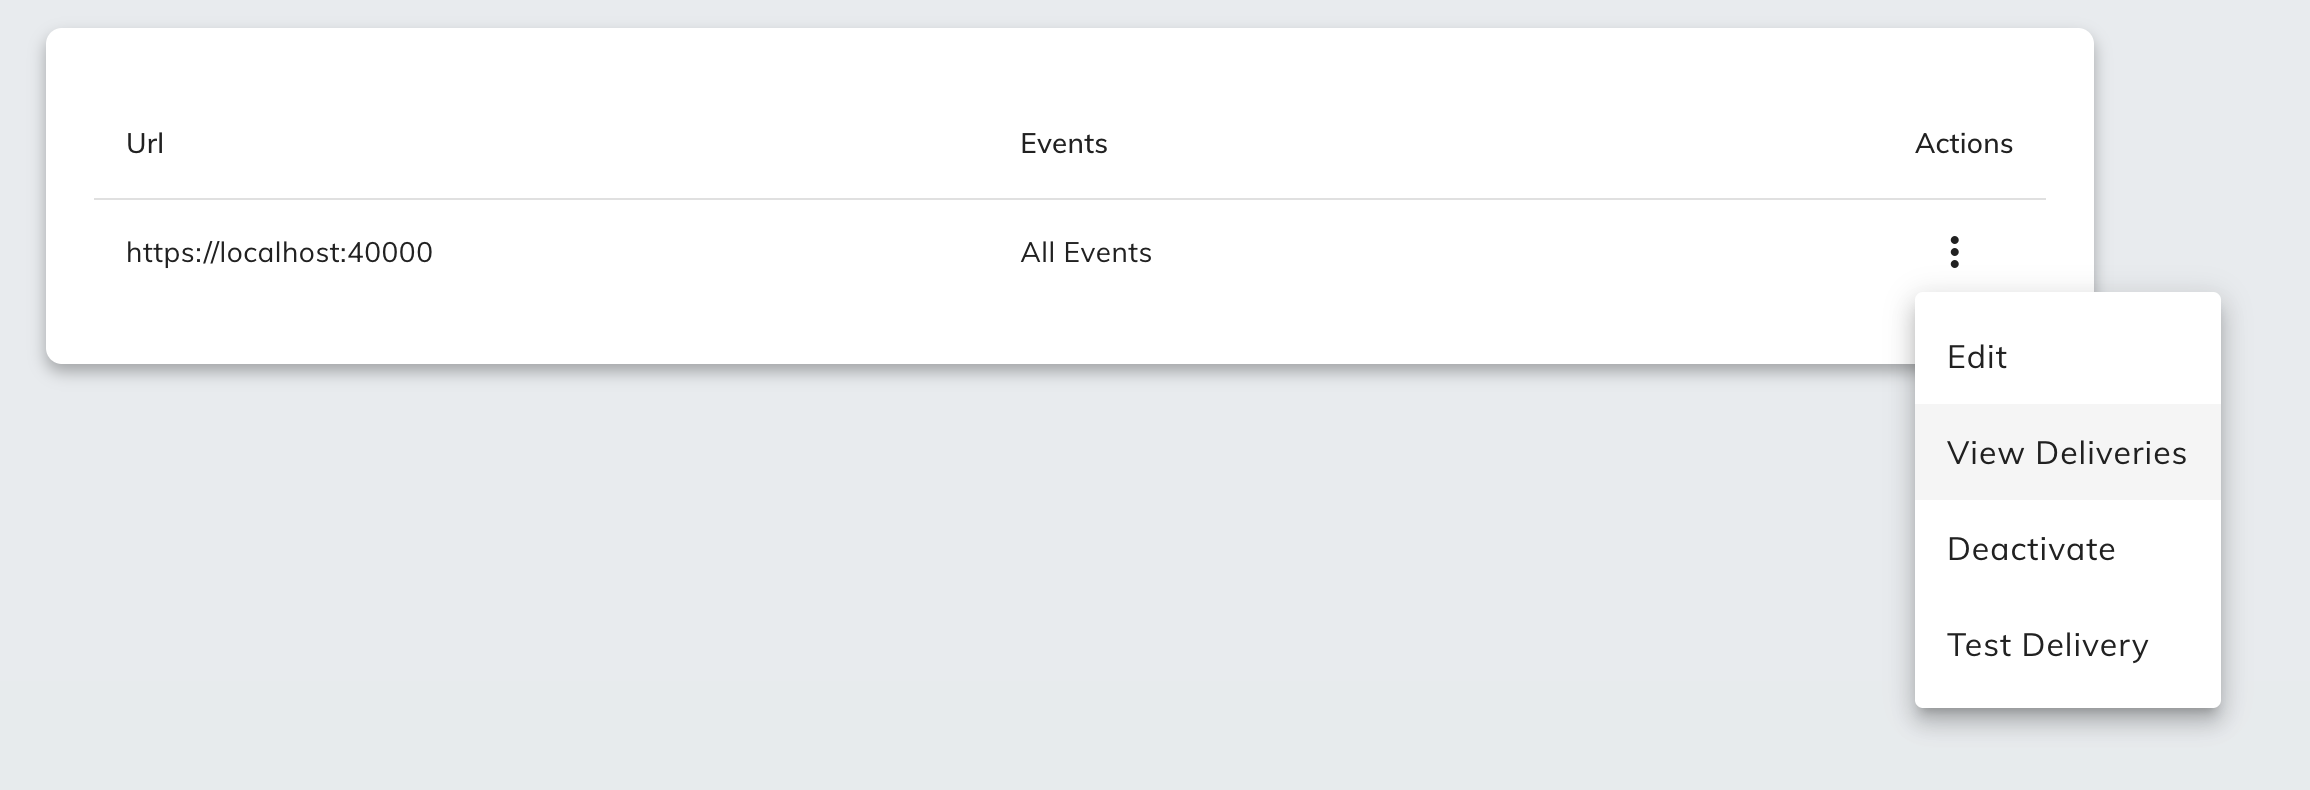
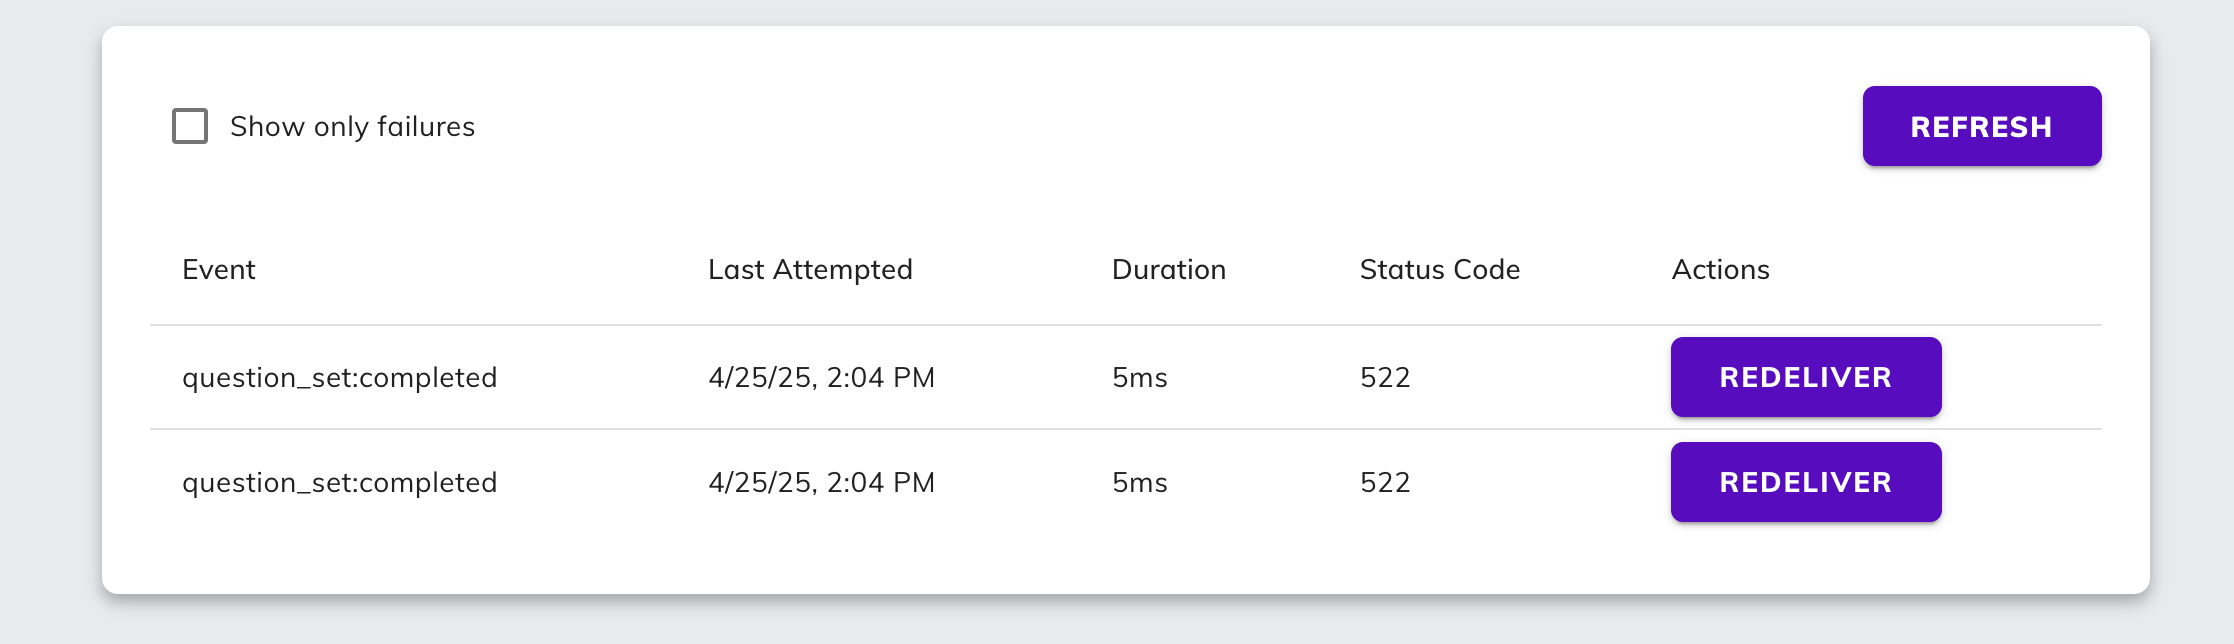
If you have completed the steps, you'll notice one or more events in the menu. In the case that any of the requests where unsuccessful, you can also redeliver them from this menu.
Questions?
For general troubleshooting, check out our Troubleshooting Guide.
For additional questions please contact our developer support team: devsupport@boldpenguin.com